|
| Please
read this page in its entirety before attempting to carry out this
procedure. This procedure is not difficult for a person who
has a modicum of skill and experience in the use of
tools. This procedure could lead to personal
injury, property damage, and/or damage to your telescope if carried out by an unskilled
or careless worker. If you do not have the requisite skill and experience, do not attempt
this modification yourself. To ensure safety and prevent damage, this procedure requires two persons to perform. |
|
Conventions: For the purpose of this exposition, the left fork arm is the same as the east fork arm. This is the arm that is on your left (east) side when you are standing on the north side of the telescope and the telescope is aimed southward. The right fork arm is the same as the west fork arm. This is the arm that is on your right (west) side when you are standing on the north side of the telescope and the telescope is aimed southward. |
|
First Things First |
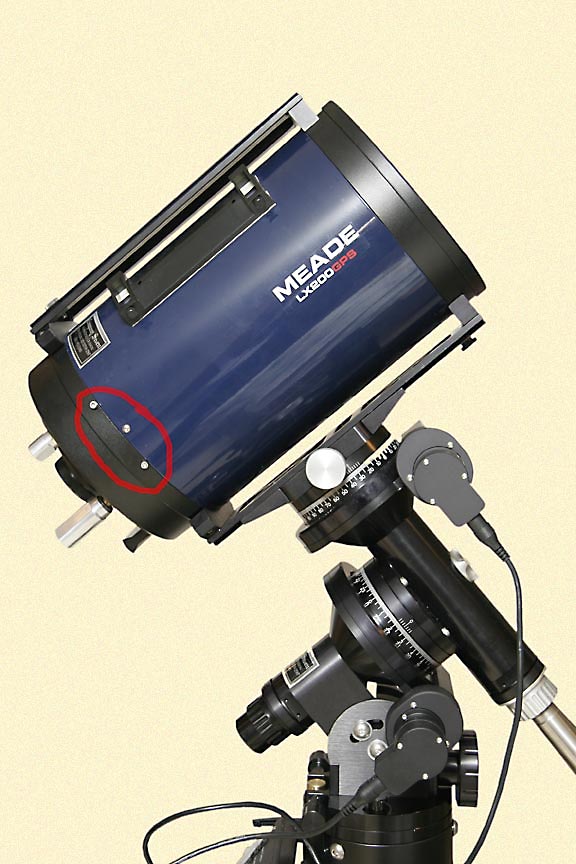
Look again at the photo at the top of this page. If the three hex screws that I have circled in red-- the ones that attach the tube to the one-piece bracket/shaft -- are accessible without removing a fork arm, then you and your assistant may be able to remove the OTA by merely loosening the Left (East) fork arm as described on this page (They were not accessible on my 8" LX200 GPS.) |
|
|
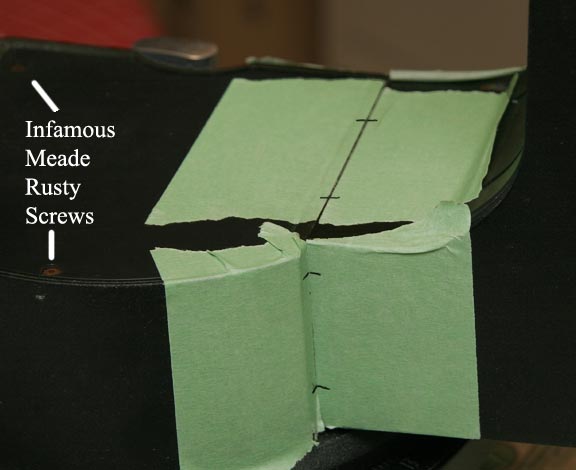
Above: Before you remove any screws or bolts be sure to make witness marks as shown above on all three surfaces where the left fork arm connects to the base (the bottom is open, as that’s where the attaching bolts are, as we will soon see.) This will allow you to maintain orthogonality when you reassemble the fork (providing that the declination axis and the right-ascension axis were orthogonal when you began.) |
|